2020 RT Highway Bracket Install
Install Video
This will work on all 2020 and current (new style) Spyder RT
This can be done on the ground but it will help if you can get it up in the air a bit. First thing you'll want to do is to make sure you have all the parts and tools needed to start.
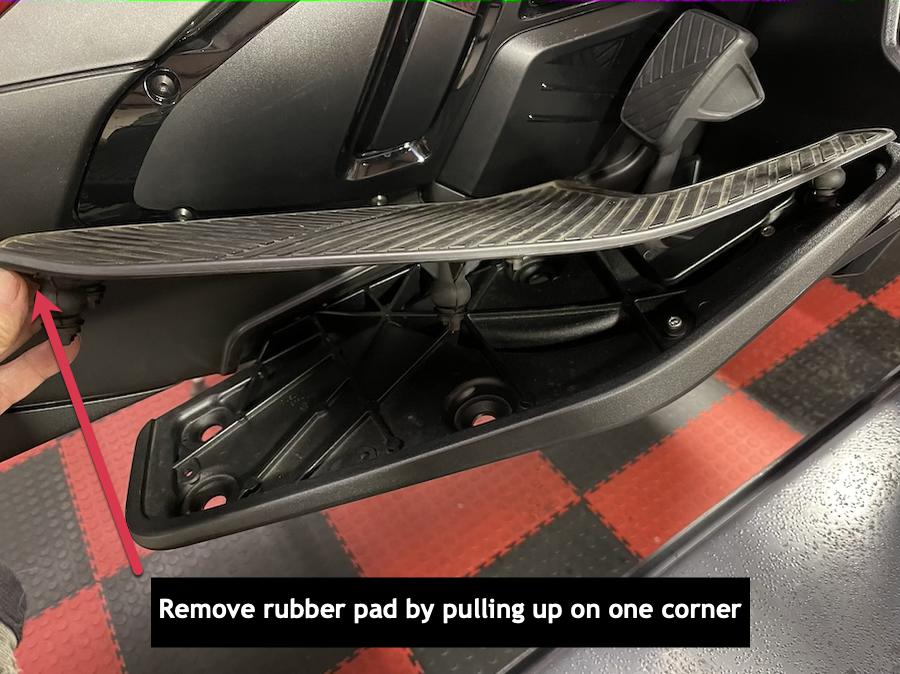
Start by removing the rubber pad on top of the floorboard. This removes by grabbing the back corner and pulling up.
Make sure you have all the hardware for install
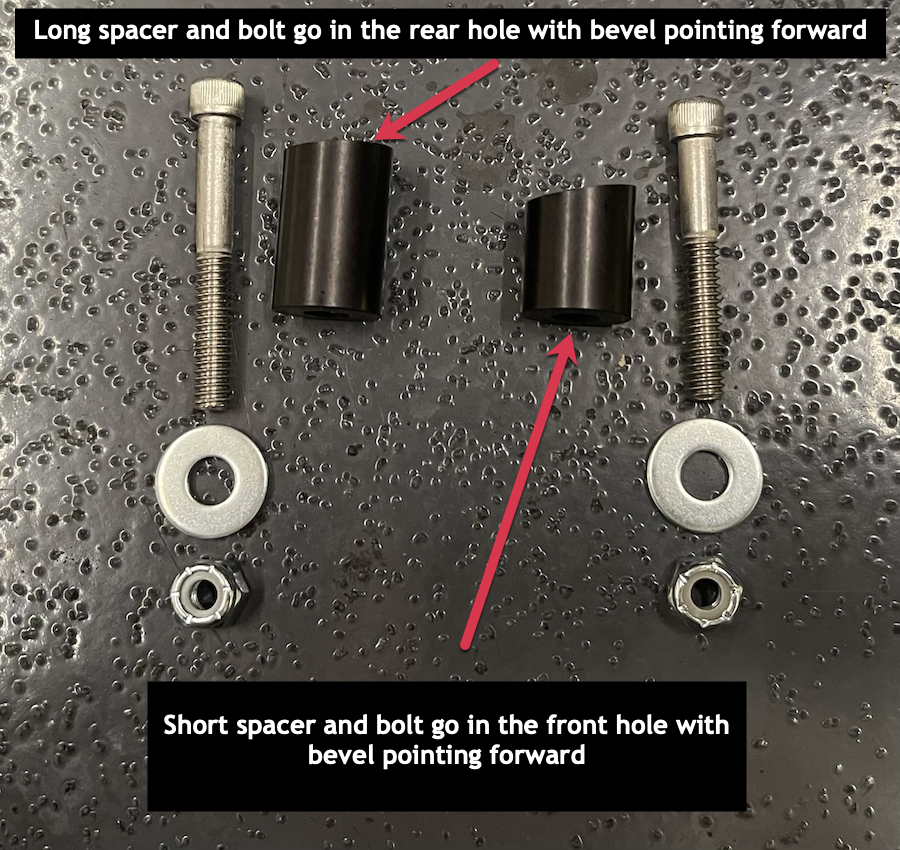
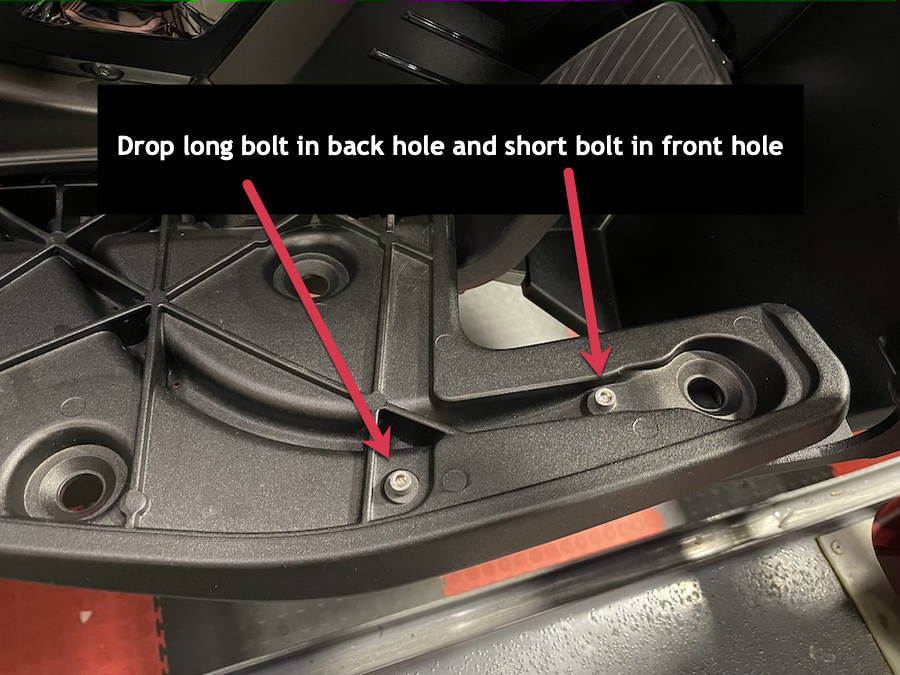
Drop the short bolt in the front hole and the long bolt in the rear hole
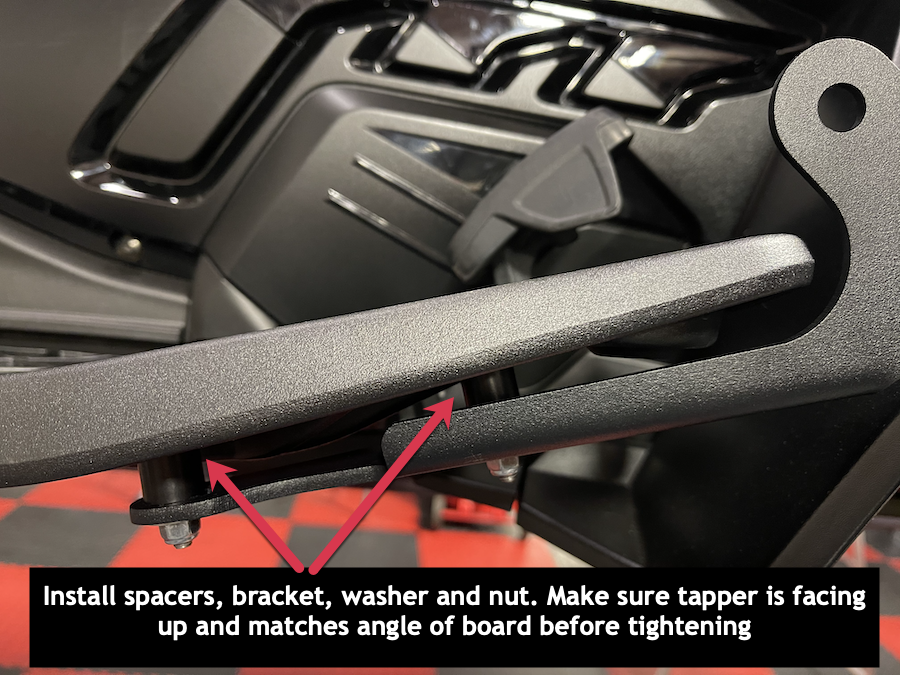
Install one spacer, the bracket and then a washer and locking nut. Make sure the tapper on the spacer is on top at the bottom of the board and the high side is toward the front of the board. Snug the bracket up but not too tight yet. Repeat on the second spacer. Snug both bolts up making sure the spacer tapper is lined up with the bottom of the board. You can adjust the bracket in and out at this time. When you get it where you like it snug the bolts down tight.
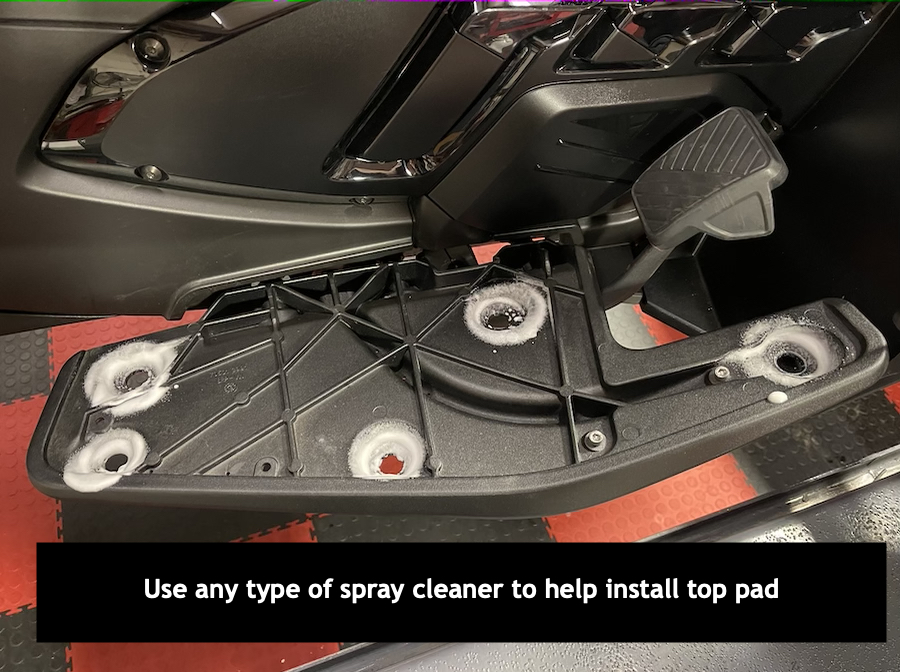
Now you can install the rubber pad back on. It helps if you spray the holes down with soapy water or some sort of cleaner. Line up the holes and push or tap in place. You can pull on the inserts from underneath the board too if needed.
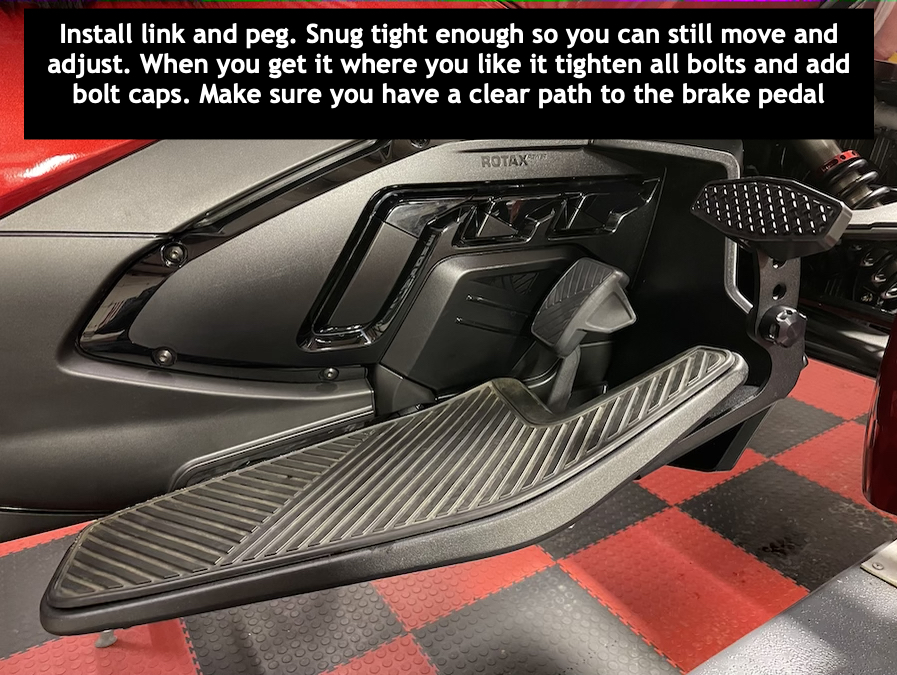
Now you're ready to install the arc link and peg. We recommend that you snug them up where you think you want them but leave them loose enough to be able to adjust by hand. Once you get them where you like them snug them down and go for a ride. If you're happy with where they sit you can now add the bolt caps to finish off the custom look. These look like a factory product when complete.
Click Here for product options
